
Hola people!
It's getting so close to Halloween and I'm loving it! Halloween films are on TV, the stores are filled with horrific tricks and treats and people are well underway with sorting their scary costumes.
I've seen maaaany posts on Halloween make-up for adults, but not many for the little monsters (who will soon want to be knocking peoples doors and stuffing their faces with sweets, resulting in a sugar high near bed time, driving their adults crazy....) aka: the kids!!
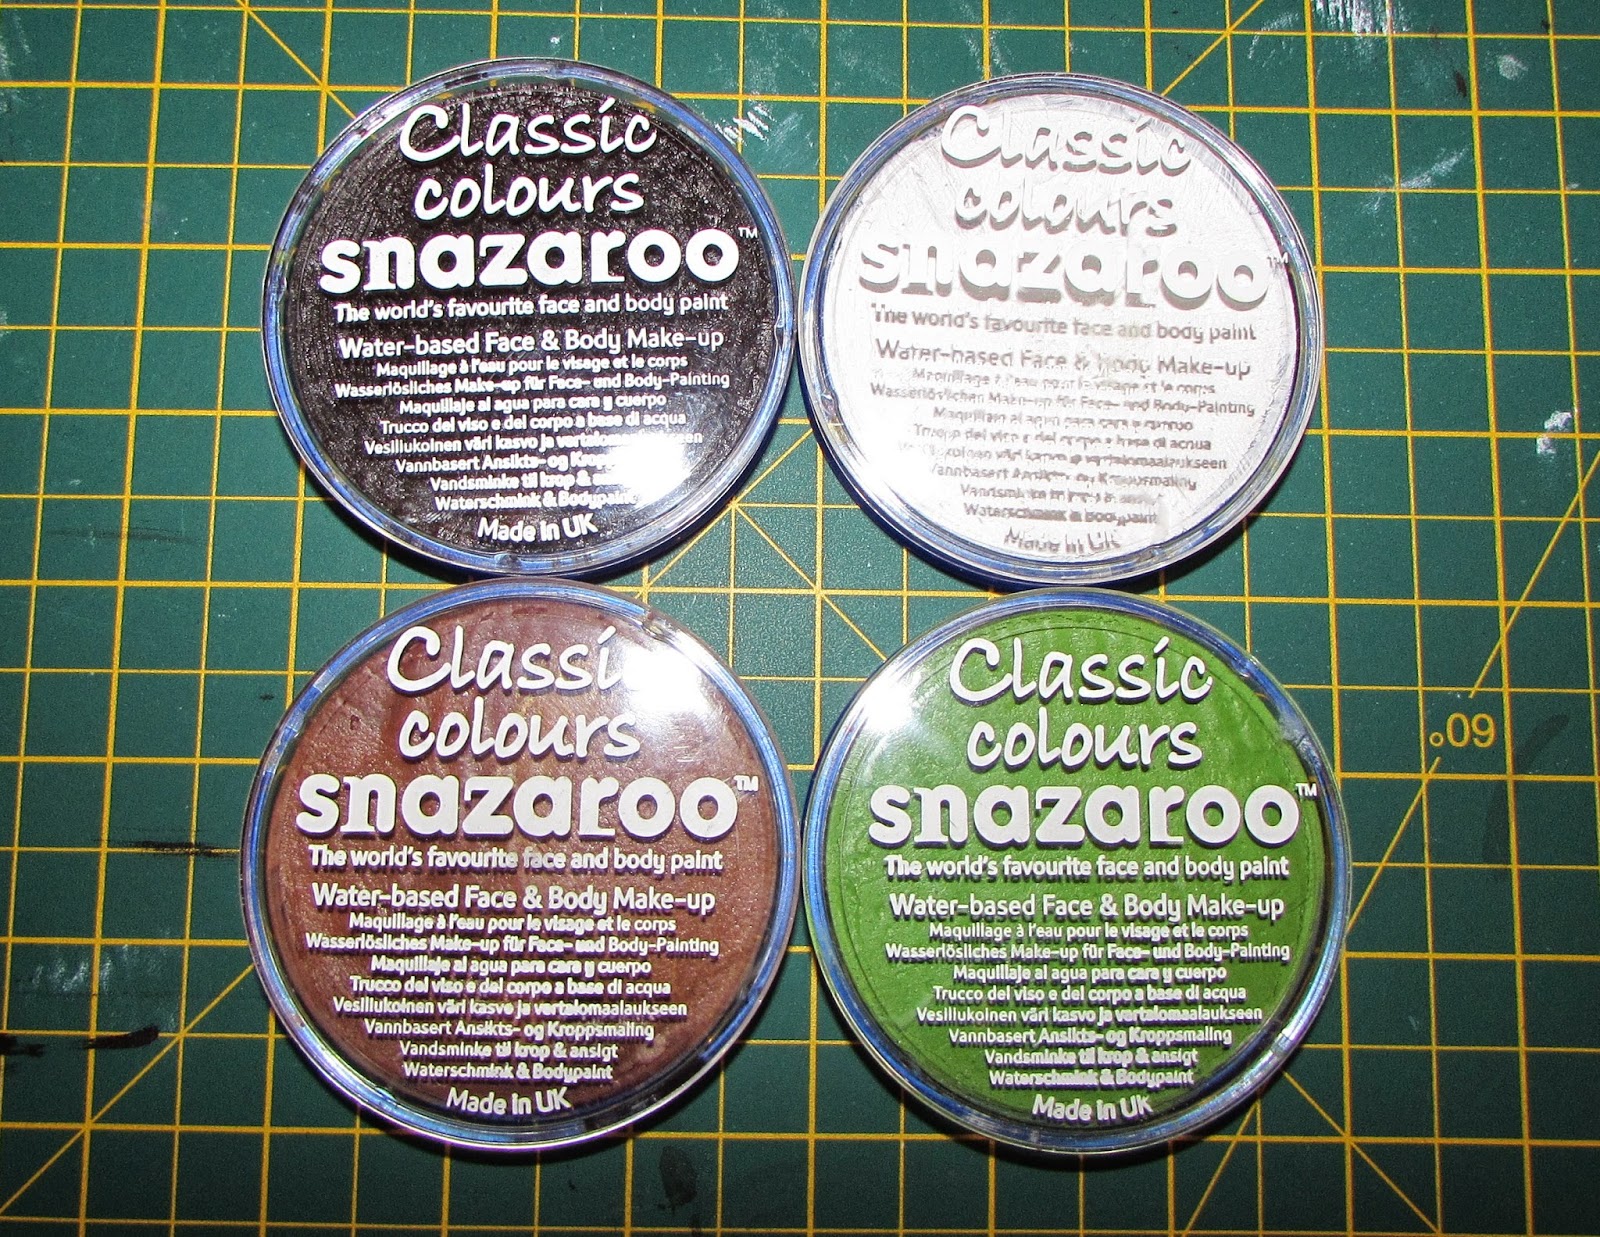
So, with the help from my beautiful but crazy niece, Lauren, I've created 3 scary yet simple looks using only 4 colours with Snazaroo - the best face paint in the world for adults and kids alike! (I'm not paid to say that, I swear! :P)
I originally intended to make as many scary looks as possible, using a 6 colour limit but there was only so much we could get done in one day due to normal everyday commitments!
The colours will be pretty obvious from the pictures, but with each look, I'll explain what techniques I used to create the look. Here's a link to where I buy my own Snazaroo paints that are cheaper than the actual site...Click Here!
Of course, if you prefer to buy from their site, feel free! Link right here...Snazaroo!
**TIP: To wet the paint, but not too much as it can get messy, I put water into a squirty bottle (easily bought from Superdrugs) to spray onto the paint. Not only is it easier, but it covers the paint entirely with one spray, so you dont have to mix it and struggle to get the right consistency all the time.**
First up...A SKULL!!
(Perfect, considering my love of them!)
I used Black and White. Basic!
The Grey shadows on the face are made by blending the black and white with a brush. As you probably guessed!
Key components to achieving a skull:
>Blackened eyes (circular)
>Hollowed cheeks
>Teeth effect along the mouth


SKULL: COMPLETE!!
It may seem like a lot of steps, but once you try it, you'll see how easy it can be.
Next...A classic, scary WITCH!!
(The easiest one too!)
Key components to achieving a Witch:
>Green face
>Wrinkles and moles
>Heavy brows
Steps:
1. Cover the face in green paint.
2. On the back of your hand, mix some Black and White paint to make Grey. Use this to draw wrinkles on the forehead, beside the eyes (crows feet), the sweeping cheek lines (see picture) and the chin. I added some grey shading under the eyes too, to create an even older look.
3. Add little blobs of either brown or black paint on various places to look like moles and draw little hairs sprouting from them.
4. Lastly, use black paint to create a VERY heavy brow (the uglier the better in mu opinion!) and colour the lips in. I drew a tooth on the bottom lip, to again make my niece look old and haggered!


WITCH: COMPLETE!
Lastly, my nieces favourite...A WOLF!!
Key components to achieving a Wolf:
> Fur effect using a stippling brush (if possible)
> Wolf/Animal nose
> Menacing Wolfy fangs
Steps:
1. To create the fur effect on the face, I used a Real Techniques Stippling Brush which has perfect bristles to lightly dip in the paint, and brush over the outside of the face. The longer bristles which are spaced apart, mean that you can use just the tips of them to give a fur/hair effect. I used black paint to do this.
2. Then, using a face sponge or foundation brush, colour in the rest of the face white, being careful not to smudge or get too close to the black already on the face. Using your stippling brush again, dip it into the white paint, and lightly go around the face, very close to where the black is, to start making it grey. You want to get a nice black, to grey, to white shading effect going on. Using the brush again, dab it into the white paint and finish off any gaps around the face. (See picture)
3. Using the black paint, draw on your doggy shaped nose. I draw a line across the tip of the nose, and then colour it in. I then draw a line down from the nose to the top lip, and a line across the lips to finish it off.
4. Add a thin black line across the eyelids and direct it slightly down either side of the nose, to add a bit of definition.
**TIP: You could always add fake blood if you wanted a really gruesome look!**


WOLF: COMPLETE!!
I hoped you enjoyed these looks! I apologise for how long this post is, seeing as reading instructions can be quite tedious.
Comment below, or tag me on Twitter or Instagram to share your face paint looks and especially if you've tried my looks above!
Let me know what you think!
HAPPY HALLOWEEEEEEEEEN!!
Rock on!
Bex. xx
*Insert imaginary funky drawn skull here*
So, with the help from my beautiful but crazy niece, Lauren, I've created 3 scary yet simple looks using only 4 colours with Snazaroo - the best face paint in the world for adults and kids alike! (I'm not paid to say that, I swear! :P)
I originally intended to make as many scary looks as possible, using a 6 colour limit but there was only so much we could get done in one day due to normal everyday commitments!
The colours will be pretty obvious from the pictures, but with each look, I'll explain what techniques I used to create the look. Here's a link to where I buy my own Snazaroo paints that are cheaper than the actual site...Click Here!
Of course, if you prefer to buy from their site, feel free! Link right here...Snazaroo!
**TIP: To wet the paint, but not too much as it can get messy, I put water into a squirty bottle (easily bought from Superdrugs) to spray onto the paint. Not only is it easier, but it covers the paint entirely with one spray, so you dont have to mix it and struggle to get the right consistency all the time.**
First up...A SKULL!!
(Perfect, considering my love of them!)
I used Black and White. Basic!
The Grey shadows on the face are made by blending the black and white with a brush. As you probably guessed!
Key components to achieving a skull:
>Blackened eyes (circular)
>Hollowed cheeks
>Teeth effect along the mouth
Steps:
1. Paint the whole face white.
2. Black out the eyes.
Depending on how old your child is (and in my own experience) it's better to do a rough circle around the eye and colour it in only slightly close to the eye, seeing as younger ones aren't too keen on keeping perfectly still when you're aiming a paint brush at their eyes! Haha. For older ones (or yourself) you can aim to get as close to the eye as possible to achieve maximum effect.
3. Draw a line (lightly) from the temple, curved around and away from the apple of the cheek and back down, just away from the corners of the mouth.
4. Using a make-up brush blend the black line into the white to create shading. This gives a more ghostly and gaunt appearance. It can take a lot of shading if you're a perfectionist, but if you're intending to this quick, just go for it.
5. Draw two triangular shapes, a small width apart on the tip of the nose and colour them in. Make them big enough to look like a skulls non-existent nose!
6. The hardest part of the skull look is probably having a steady enough hand to create the lines for the teeth. I start of by drawing 4 rounded little squares directly in the middle of the lips.
**TIP: Make sure they're nice and white beforehand as you don't want to go back afterwards and add white bits in between the black lines.**
From the main teeth, using a thin paint brush, create the other teeth by drawing rounded little squares, each leading on from the previous tooth. It joins them, and also helps you to create a steady set of teeth. If they're odd-ish shapes, don't worry! I'm pretty sure no deathly skull has perfect teeth :P
7. Draw short vertical lines from the teeth to look as though the teeth are rooted. Not needed if you're aiming for a very basic look...but it definitely adds definition and character! Lastly, add little jagged lines on the forehead and possibly on the chin, to look like cracks!
SKULL: COMPLETE!!
It may seem like a lot of steps, but once you try it, you'll see how easy it can be.
**TIP: An easy outfit to accompany skull face paint...dress all in black! The attention will be drawn to the amazing, yet scary, face paint on your child. ;)
Next...A classic, scary WITCH!!
(The easiest one too!)
Key components to achieving a Witch:
>Green face
>Wrinkles and moles
>Heavy brows
Steps:
1. Cover the face in green paint.
2. On the back of your hand, mix some Black and White paint to make Grey. Use this to draw wrinkles on the forehead, beside the eyes (crows feet), the sweeping cheek lines (see picture) and the chin. I added some grey shading under the eyes too, to create an even older look.
3. Add little blobs of either brown or black paint on various places to look like moles and draw little hairs sprouting from them.
4. Lastly, use black paint to create a VERY heavy brow (the uglier the better in mu opinion!) and colour the lips in. I drew a tooth on the bottom lip, to again make my niece look old and haggered!
WITCH: COMPLETE!
Lastly, my nieces favourite...A WOLF!!
Key components to achieving a Wolf:
> Fur effect using a stippling brush (if possible)
> Wolf/Animal nose
> Menacing Wolfy fangs
Steps:
1. To create the fur effect on the face, I used a Real Techniques Stippling Brush which has perfect bristles to lightly dip in the paint, and brush over the outside of the face. The longer bristles which are spaced apart, mean that you can use just the tips of them to give a fur/hair effect. I used black paint to do this.
2. Then, using a face sponge or foundation brush, colour in the rest of the face white, being careful not to smudge or get too close to the black already on the face. Using your stippling brush again, dip it into the white paint, and lightly go around the face, very close to where the black is, to start making it grey. You want to get a nice black, to grey, to white shading effect going on. Using the brush again, dab it into the white paint and finish off any gaps around the face. (See picture)
3. Using the black paint, draw on your doggy shaped nose. I draw a line across the tip of the nose, and then colour it in. I then draw a line down from the nose to the top lip, and a line across the lips to finish it off.
4. Add a thin black line across the eyelids and direct it slightly down either side of the nose, to add a bit of definition.
**TIP: You could always add fake blood if you wanted a really gruesome look!**
WOLF: COMPLETE!!
I hoped you enjoyed these looks! I apologise for how long this post is, seeing as reading instructions can be quite tedious.
Comment below, or tag me on Twitter or Instagram to share your face paint looks and especially if you've tried my looks above!
Let me know what you think!
HAPPY HALLOWEEEEEEEEEN!!
Rock on!
Bex. xx
*Insert imaginary funky drawn skull here*
No comments
Post a Comment